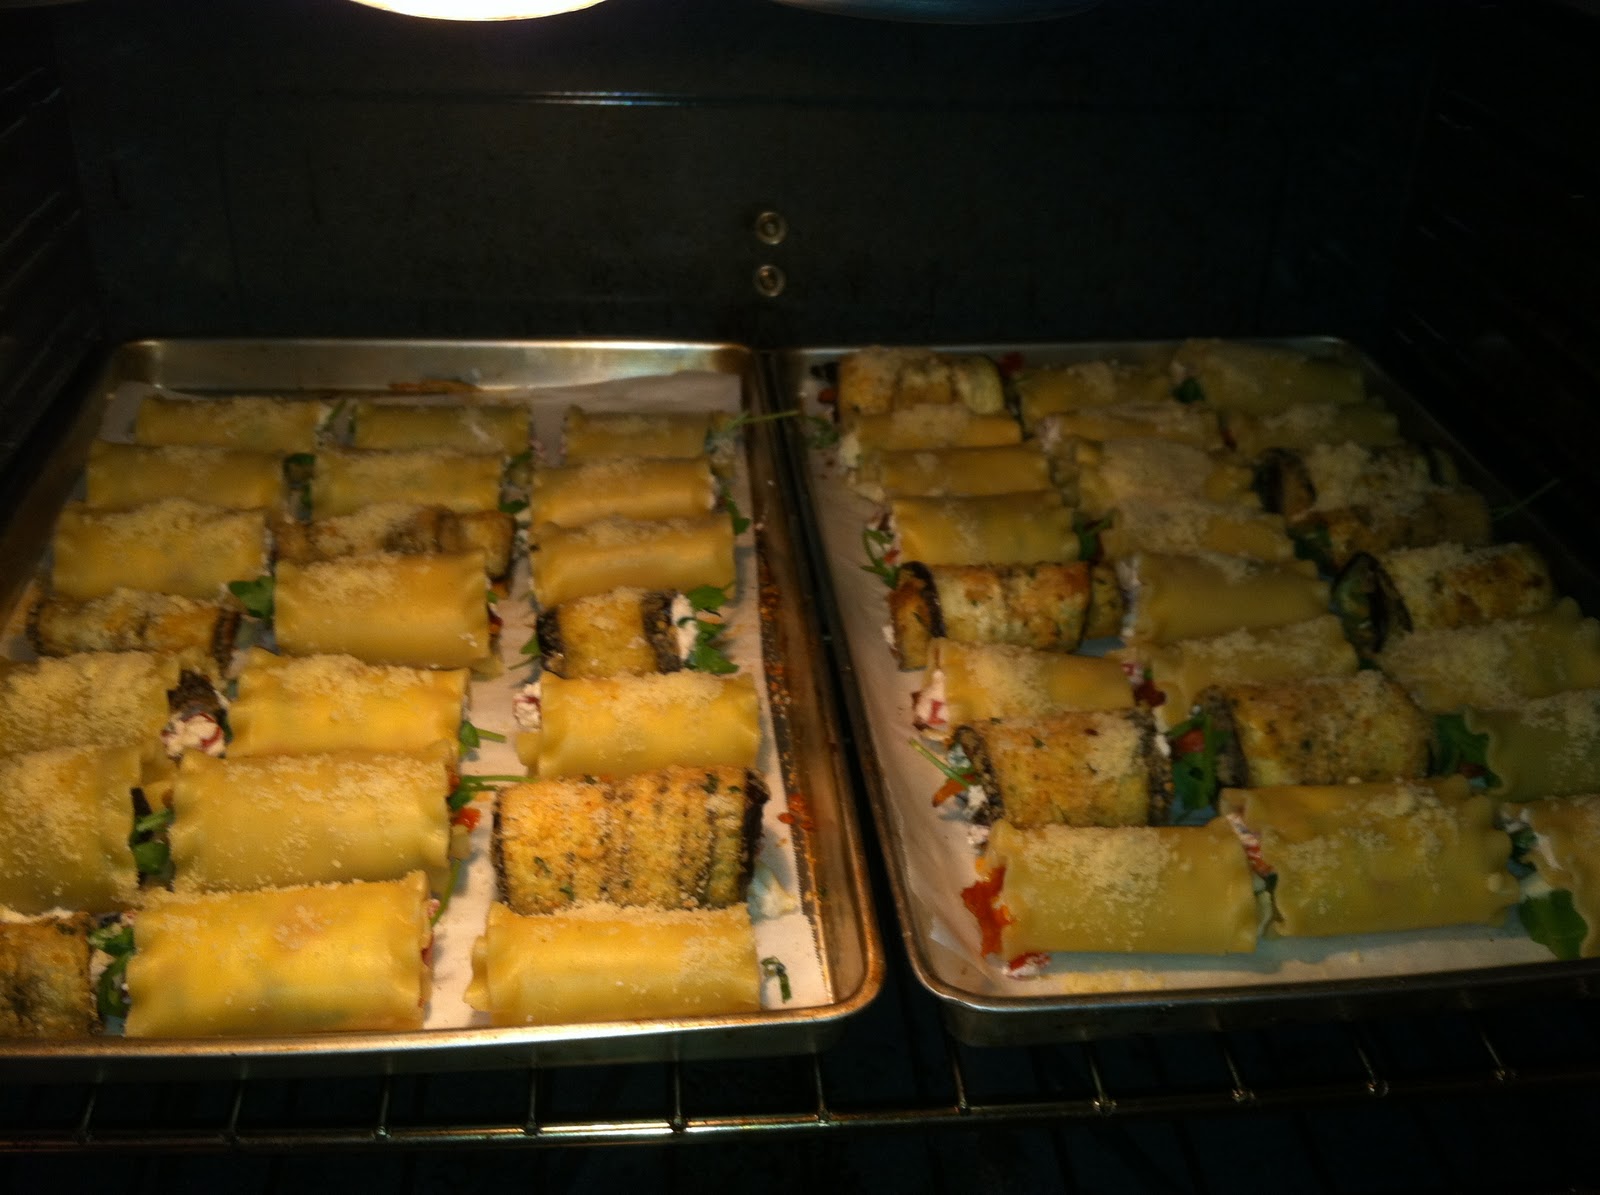
This is a great idea I decided that I wanted to make, using some of my recipes and the art of Sushi rolling. Mixing both style that I enjoy Japanese Sushi as the format to my dish & Italian Cuisine as the Flavor! After some good conversation with my Fratelli's, Mr. A, Mrs. A & Krista, I decided to make a few basic rolls to start with! They came out great and with no hiccups, pretty simple (with 2 Sou Chefs Mrs. A and Krista & a hour or so of prep work!) & delicious! As I am always saying make these your own, take something you like and turn it into something you and your family will LOVE! Here it is ITALIAN SUSHI! SUO TUTTO MANGIARE! ITS ALL TO EAT!!!
Italian Sushi
Recipe Ingredients:

Roll Filling's
- 1 lb. Ricotta Cheese (Skim for all the New Year Resolutions!)
- 2-3 Sun dried Tomato's
- 6-8 Diced Plum Tomato's
- Fresh Basil
- Fresh Arugula
- Fresh Mozzarella Cheese
- 2 Roasted Red Pepper
- 1 lb of Lasagna Pasta
 Eggplant Roll
 - 1 Eggplant sliced thin
- 2 Eggs
- Italian Seasoned Bread Crumbs
- Fresh Parmigiana Cheese
Mrs. A's Balsamic Dijon Dipping Sauce
- Salt & Pep
- 3 tsp of Balsamic Vinegar
- 4 tsp of Olive Oil
- 4 tsp of Honey Dijon Mustard
Unlike most of my previous posts, this one does take about an hour or so of prep time preparing everything before you start to build your first rolls. Grab some of the family and GET IN THE KITCHEN!!! This is a fun and delicious recipe for you too enjoy making with your family! ITS ALL TO EAT! I would recommend starting and following the way that I will explain it to you, that way everything is done before you need it! Most important ENJOY & MANGA!
Roasted Red Peppers & Eggplant Rolls Prep
 |
| Step 1 : Cut & Press flat onto baking sheet with aluminum foil & non-stick spray |
 |
| Step 2 : Place oven on broil on second shelf, watch closely |
 |
| Step 3 : Remove once the rep pepper has turned black & crisp |
 |
| Step 4 : Let cool & place in plastic bag |
 |
| Step 5 : Remove black layer and place in dish for later |
 |
| Step 1 : Slice the Eggplant into thin long strips |
 |
| Step 1 : Thin long slices of eggpant |
 |
| Step 2 : Prepare your Breading Station |
 |
| Step 3 : Place in Egg Mix Bath |
 |
| Step 4 : Place on both sides Bread crumb & Parm Mix |
 |
| Step 5 : Place in the oven at 350 degrees for around 20 minutes |
 |
| Step 6 : Place in plate to cool |
Ricotta, Tomato & Basil Filling
In another large bowl, place your Ricotta Cheese (Skim), Freshly chopped basil & Freshly diced plum tomato's. Then mix. This is great for these rolls, it adds great flavor and is a key component in keeping the rolls together.
 |
| Ricotta, Basil & Tomato |
Take your Sun dried tomatoes and cut them into small thin slices, easy to use when rolling your Sushi, do the same for your fresh Mozzarella, cut into long thin slice's. I found that the thinner and longer the slices, the easier they are to roll.
Arugula & Fresh Basil Filling
Take your Fresh Arugula & Basil and place on a plate, these are best when you just use them directly into the roll, adding great flavor and great texture to the rolls. Plus adding a very eye pleasing look as well!
Lasagna Noodles

 You now can cook your Lasagna noodles, Remember to add your salt to the boiling water! Once Noodles have been in and stirred for around 10 minutes they should be ready to go. Drain noodles, and run under cold water to help cool and make it easier to handle. Once cooled, place on a cutting board and cut noodles in half,k directly in the center of each noodle, you can do this all at once to allow for the same sized noodles. Once this is finished you are ready to start putting your first Italian Sushi Rolls TOGETHER!!!
Rolling
This was my favorite part of making this meal, again I challenge you all to make your own, with your own fillings! We made mixtures from Basil, Mozzarella & Sun Dried Tomato to Eggplant, Ricotta & Arugula! (and every mixture in between!!!) The key with rolling is to place all of the toppings you want at one end of the Noodle or Eggplant and roll into the noodle! See below step by step! Take your time and Mix things up!!! Everything tasted great! Once Noodles are rolled place on baking sheet on top of parchment paper.
 |
| Step 1 : Place toppings on one end |
 |
| Step 2 : Begin to roll noodle |
 |
| Step 3 : Continue to roll down noodle |
 |
| Step 4 : Completely finish the roll |
Mrs. A's Balsamic Dijon Dipping Sauce
 |
| Balsamic Dijon Dipping Sauce |
I knew that I wanted something to replicate the soy sauce used in classic Sushi, so when talking to Mrs. A, she had told me of a recipe that she had for a Balsamic Dijon sauce she had made before. This is simple and really elevated the Sushi to the next level!
Start out with adding about 2 tsp of Salt & Pep into a mixing bowl, then add 3-4 tsp of Honey Dijon Mustard, add in 4 tsp of Olive Oil & 3 tsp of Balsamic Vinegar. Then Mix! Its that simple and believe me it is a great complement to these rolls!!! BELLA!!!
Finishing Touch's


FINISHED PRODUCT
 |
| BELLA!!! |
 |
| BELLA!!! |
 |
| BELLA!!! |
These Rolls were everything that I had imagined them to be! Great tasting, filling & wonderful to share! Taking my Italian Recipes & incorporating them in this traditional Japanese style of cooking was something that I really enjoyed doing & hope to continue in other foods that I continue to cook and enjoy! There is nothing like creating something step by step in your mind and completing it in real life, seeing your idea come to fruition is something that I love! Be creative out there! DO NOT settle for mac n cheese every night or grilled cheese! Take something you like & turn it into something you LOVE, bring your family together!!! For that is what truly matters!!! I hope you all enjoyed this recipe, because I know that I did! Until next time, remember ITS ALL TO EAT!!! SUO TUTTO MANGIARE!!!
-freddy g
P.S.
Here are some more pics!!! Enjoy!!! BELLA!!!